
As C&M Precision Tech's Engineering Manager, I am often asked what it takes to run a part efficiently on a Swiss machine. I first reflect on our C&M “Can Do” attitude. In a good way, we tend to be engineers by nature and want to figure out a way to make it work with what we have. Trust me, we’ll make it work! Sometimes, we have to step back a bit as the solution might not make commercial sense.
As a result, one of the most critical parts of our role in engineering is to assist the front-line quoting team to make sure we have a good plan before we quote the job.
With our recent automation in the quote process and the front-line team’s expertise in machining, estimators are now able to “ballpark” the job to be done (cycle time, set up time, tooling, gauges, etc.) for a significant percentage of parts without engineering being involved. That works just fine most of the time.
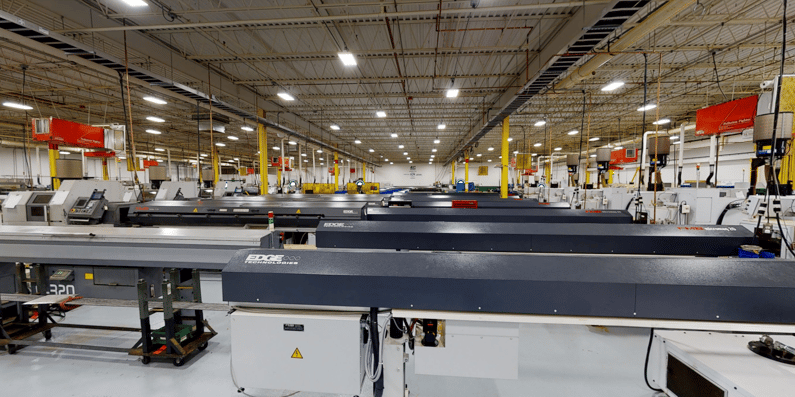
Occasionally, a new part that's more complex than usual will land on my desk for an initial engineering estimate. This is when we need to dig into the details. Fortunately, most of the new parts we see have features that are “similar” to some of the 19,000+ programs we’ve run to date. Over the years, we structured the parts programs in our engineering library to be logically archived, and it only takes us minutes to locate a program we could use for a particular feature on a part.
During that process, we devise a game plan that would involve machines, capabilities, programs, tools, gauges and more with the degree of confidence we need to bid on the job or not bid at all. Those rough plans are attached to the internal quote document for future reference.
A few days or weeks later, we receive the order for one of these parts. Now it’s time to engineer the process for real. Now that we have the final part drawings, quantities to be made, due date, dimensional specifications and other data points, we need to look at the machines we have available, and the capabilities of those machines, to find the best compromise possible.
Here are 5 Tips on how to do that:
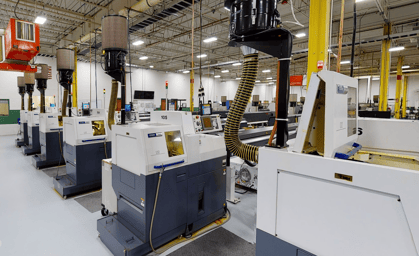 Tip #1: Determine which platform is best suited for the part without being excessive. The machine must be capable but not overkill. For example, do not put a simple washer on a 7 axis, twin turret machine.
Tip #2: Determine the complexity and configuration of the job. We need to go back to our initial notes, to validate the number of features and the number of tools needed, determine which way is front and back, how we are going to hold the part during cut off and more.
Tip #3: Split the job evenly between front and back. Ideally, operations should be distributed equally to get to the lowest possible in cut cycle time. It is not always possible, but this balance is critical to overall cycle time, including setups and tool changes.
Tip #4: Select the right tools for the job. Like in any trade, using the right tools makes a huge difference in Swiss machining. At C&M, we have a full tool room with tens of thousands of references to pull from. However, as a process engineer, be aware that the most shiny and newest tool in your arsenal might not be best for the job. Some newer tools require higher speeds and feeds than what your machine can handle. Simple math: Getting to 500 sfm on a ¼” part would require 7,600 rpm, which, for some machines/bar-feeders, or even materials, is at the limit. On the other hand, if we remove the cost of material from the equation, the tooling choice is probably going to be your biggest driver in managing your cycle time and total cost per part. If a tool degrades prematurely, you’ll have to plan for tool changes during the run. Setup time and tool changes have the potential to bite you quickly. In a nutshell, the efficiency of the run matters. Work with your tooling experts to figure out the right balance for the job.
Tip #5: Balance Cycle Time with Maximizing Machine Uptime. Sometimes, it can be more efficient to do two roughing passes to lighten the tool load and extend wear life to avoid tool changes and associated costs. The same thing holds true for reaming and tapping. By understanding the work hardening that happens during pre-operations that may render finishing operations more difficult, specifically with High Temp Alloys, there’s always a balance to be struck among material removal rates, speeds, feeds, tool life and cycle time.
So, there you are: 5 Tips that I use consistently to get the most out of our machines, capabilities and processes.
Let us know if you have any questions or comments. I would be happy to discuss them with you.